The guest list will be the module you use most in Wedding Planner. Add guests one by one, or bulk-upload from a ready-made spreadsheet — whichever suits you. This article covers both methods and everything you need to manage the list afterward.
Before you start
If you've completed Wedding Setup, you can add guests. If not, go to Setting up your wedding first. The guest-adding interface opens without setup, but RSVP links and invitation emails won't work until setup is done.
Adding guests one by one
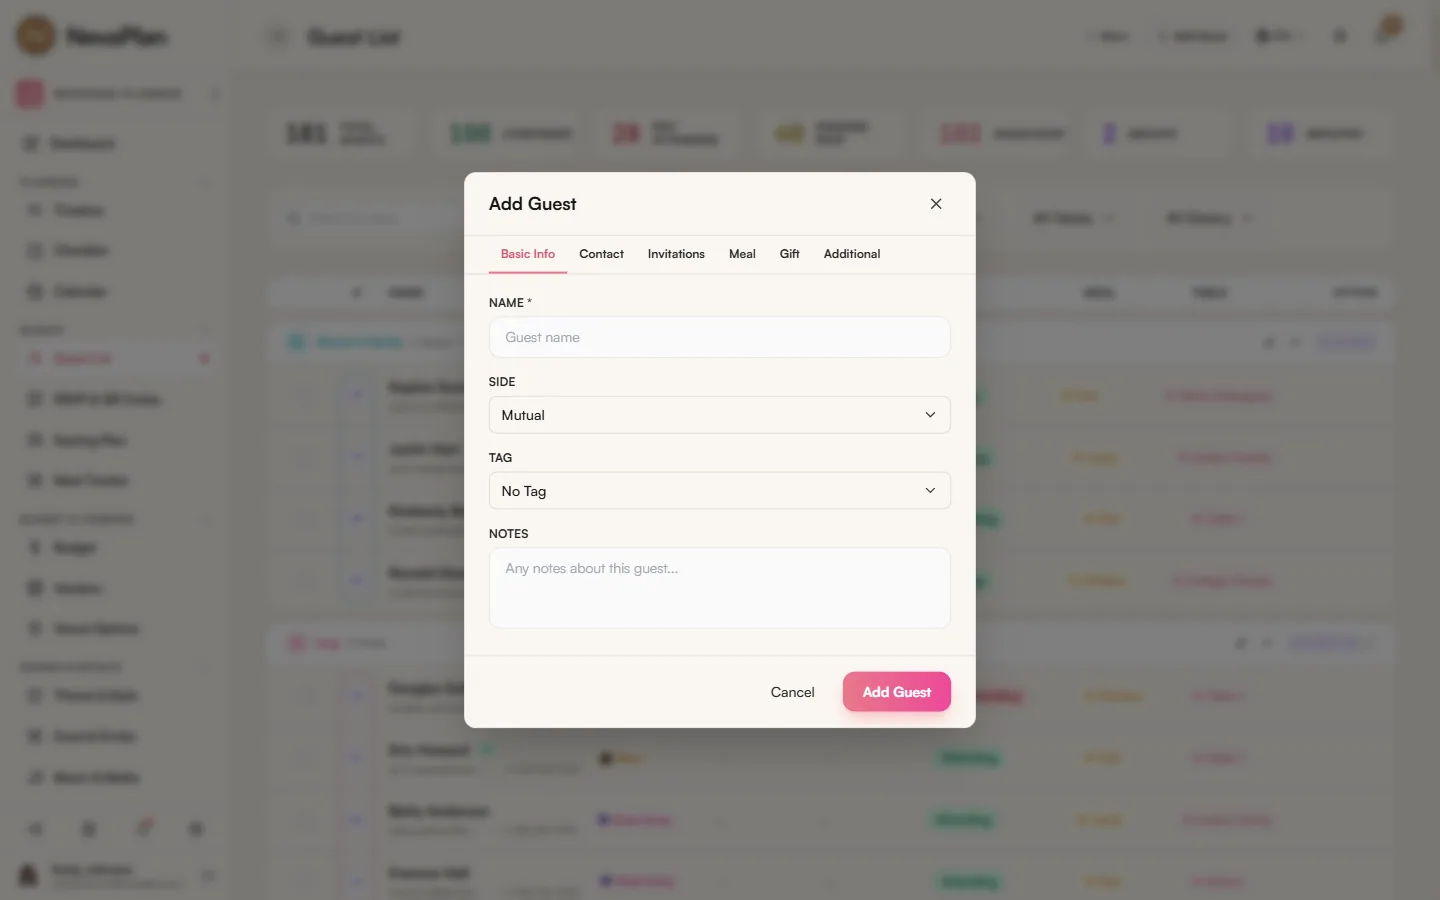
From the left menu go to Guest List and click the Add Guest button at the top right. A detailed form appears:
| Field | Required | Note |
|---|---|---|
| Name | Yes | The guest's full name |
| Side | No | Bride / Groom / Mutual |
| Tag | No | e.g. "Family", "College", "Work" |
| Group | No | A predefined group, if any |
| Phone / Email | No | Needed to send an RSVP invite |
| Plus One | No | Number of companions (0–10) |
| Meal / Dietary / Allergy | No | Meal info |
| Address | No | For physical invitations |
| Notes | No | A personal note |
Only Name is required. You can leave the other fields blank and fill them in later. If you want to send an RSVP link, you'll also need to enter an email or phone number.
Bulk import via Excel
If you already have your guests in a spreadsheet, you don't have to enter them one by one. Open the More menu at the top of the page and choose Download Template first — it gives you a ready-made Excel (.xlsx) file with the right columns, dropdown menus for fields like Tag and RSVP Status, and a few example rows to follow.
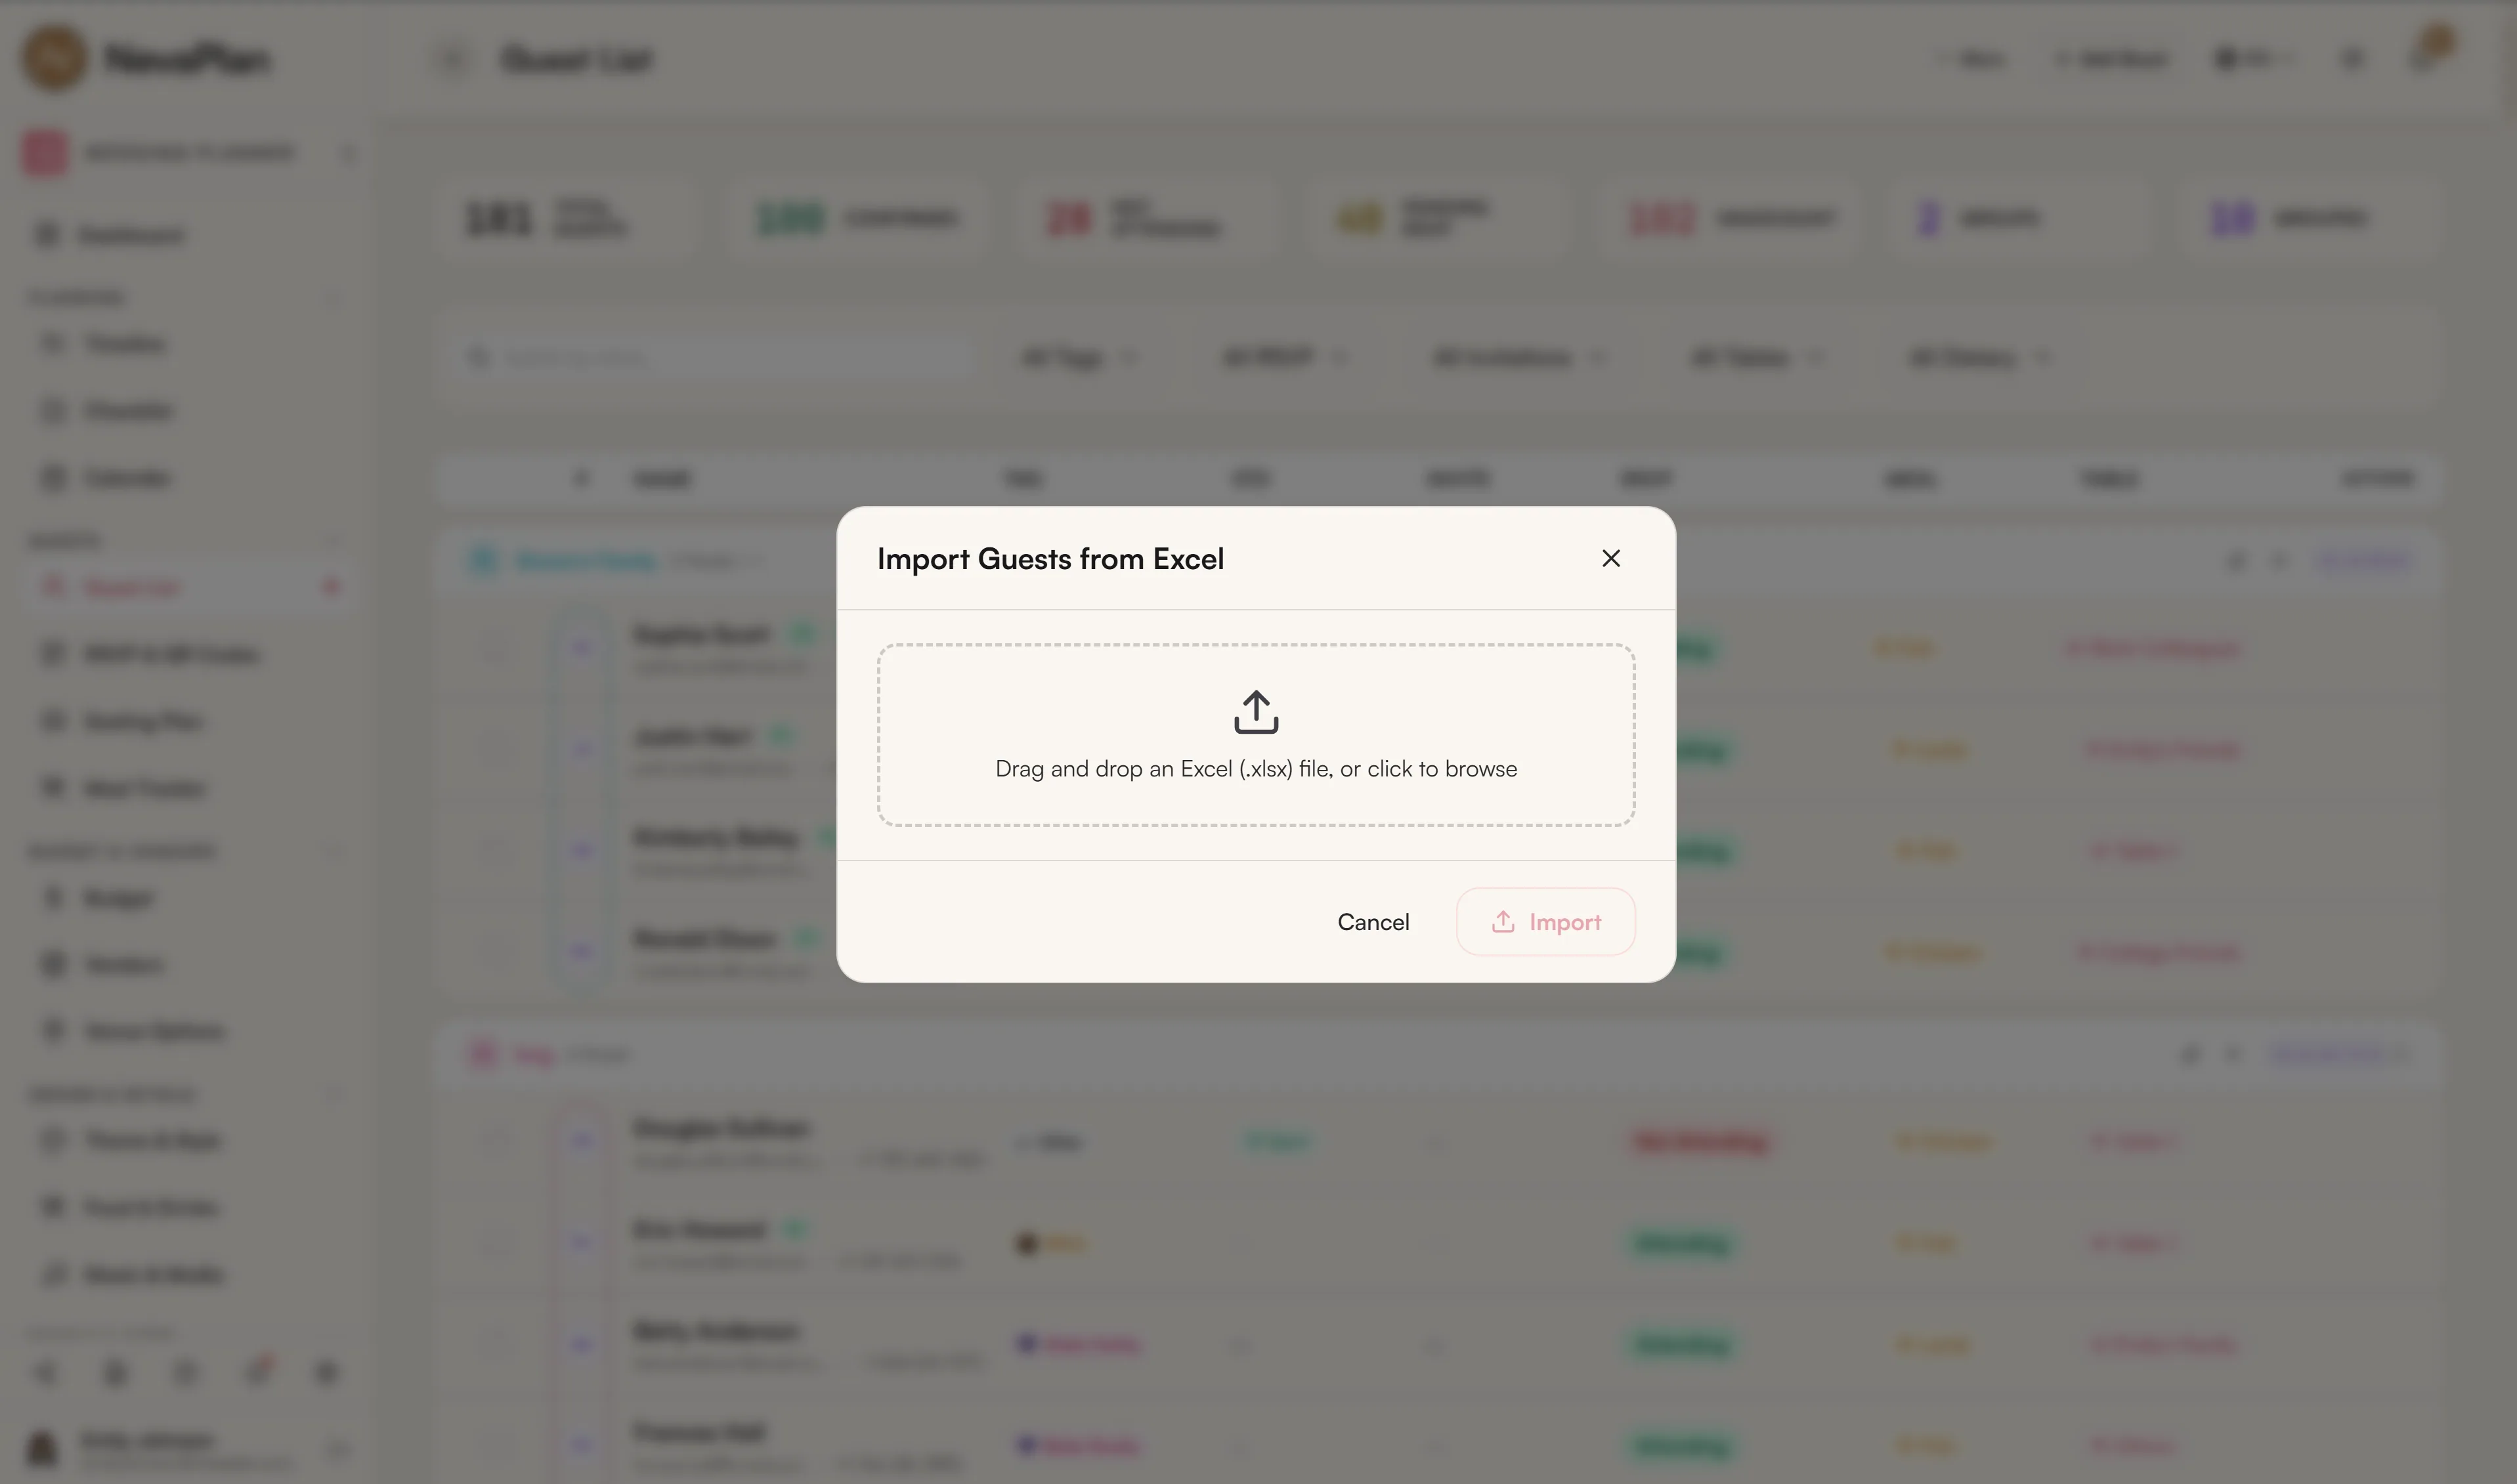
Fill in your guests (delete the example rows when you're done), then open More → Import XLSX and drop the file in.
The template includes these columns:
- Name (required)
- Tag (dropdown: Bride Family, Groom Family, Bride Friend, Groom Friend, Mutual Friend, Work, Other)
- Save The Date / Invitation (Sent / Not Sent)
- RSVP Status (Pending, Attending, Not Attending, Maybe)
- Phone, Email
- Meal, Dietary Restrictions, Allergies
- Gift Type (Cash, Gift, None), Gift Amount
- Accommodation, Notes
Only Name is required — leave anything else blank and fill it in later. The system processes each row one at a time. Successful rows are added to the list; any problem row is reported back with a "Row {{row}}" note — for example "Row 5: email format invalid". The success count appears as "{{count}} guests imported successfully".
Always start from the Download Template file rather than building a spreadsheet from scratch — its column names and dropdown values match exactly what the importer expects, so you avoid "invalid value" errors. The .xlsx format keeps non-English names (like "José") intact automatically.
Search and filter
As the list grows, the "Search guests..." box becomes useful. It searches by name, tag, phone, even meal preference. You can select multiple tag and group filters in the side panel — for example, the filter "Family + Confirmed + Vegetarian" gives you the exact list you'd hand to your caterer.
Editing a guest
Click a name in the list and a detail drawer opens on the side. From here you edit RSVP status, invitation send info, whether a gift was received, the assigned table, and all form fields. It saves automatically when you close it — there's no separate "Save" button.
Groups and auto-tag
Once the list grows, splitting it into groups helps. From the Manage Groups button you create a group (for example "Bride's Close Family"). Each group has an emoji, a color, and an optional auto-tag.
Here's how auto-tag works: if you assign "College" as a group's auto-tag, any guest you add afterward with the "College" tag automatically falls into that group. You don't have to assign them one by one.
When you delete a group, you'll see a "Group dissolved" message — the group is removed but the guests inside it are not deleted, they just leave the group.
Bulk delete
If you imported by mistake or want to reset the list, check the boxes next to guests and use Delete Selected. To remove everyone, use Delete All — you'll get this confirmation:
Delete All Guests? This will delete all {{count}} guests. This action cannot be undone.
When a guest is deleted, their RSVP response, table assignment, and meal selection are deleted too. This can't be undone. It's sensible to back up the list with a PDF export before any bulk deletion.
PDF export
To download the list as a printable PDF, use the Export PDF button. It comes out in a table format showing guest name + RSVP + table + meal info. Handy for handing to the reception staff or caterer close to the wedding.
Next steps
Once your guest list is built from scratch, the logical order is:
- Enable RSVP and send guest links — collect everyone's response
- Set up your seating plan — place confirmed guests at tables
- Track meal info — collect dietary/allergy info for the caterer
FAQ
Use the Download Template file — it already has every column with the correct headers and dropdown menus. Only Name is required; everything else (Tag, Save The Date, Invitation, RSVP Status, Phone, Email, Meal, Dietary Restrictions, Allergies, Gift Type, Gift Amount, Accommodation, Notes) is optional. Keep the headers as-is and the importer maps them automatically.
There's no direct "undo". You'll need to select the newly added guests and bulk-delete them. This is why it's wise to export the list as a PDF before a large import.
The Plus One field is a number from 0–5 — it covers a spouse, partner, and children all together; there's no separate children field. The guest can also choose their own Plus One count in their RSVP (even if you set 1, the guest can lower it to 0).
The system doesn't warn you automatically — they're kept as two separate records, each with its own RSVP link. So check for duplicates before importing.
You can't send it directly by email. You can copy the RSVP link and send it manually over WhatsApp — every guest has their own link, which you generate from the RSVP & QR Codes page.