The very first thing you'll do in Wedding Planner is set up your basic wedding details. Until this is done, the countdown won't run on your dashboard, your guest list has no context, and the budget module won't know which currency to use. It takes about 5 minutes, and everything falls into place afterward.
What is setup, and why first?
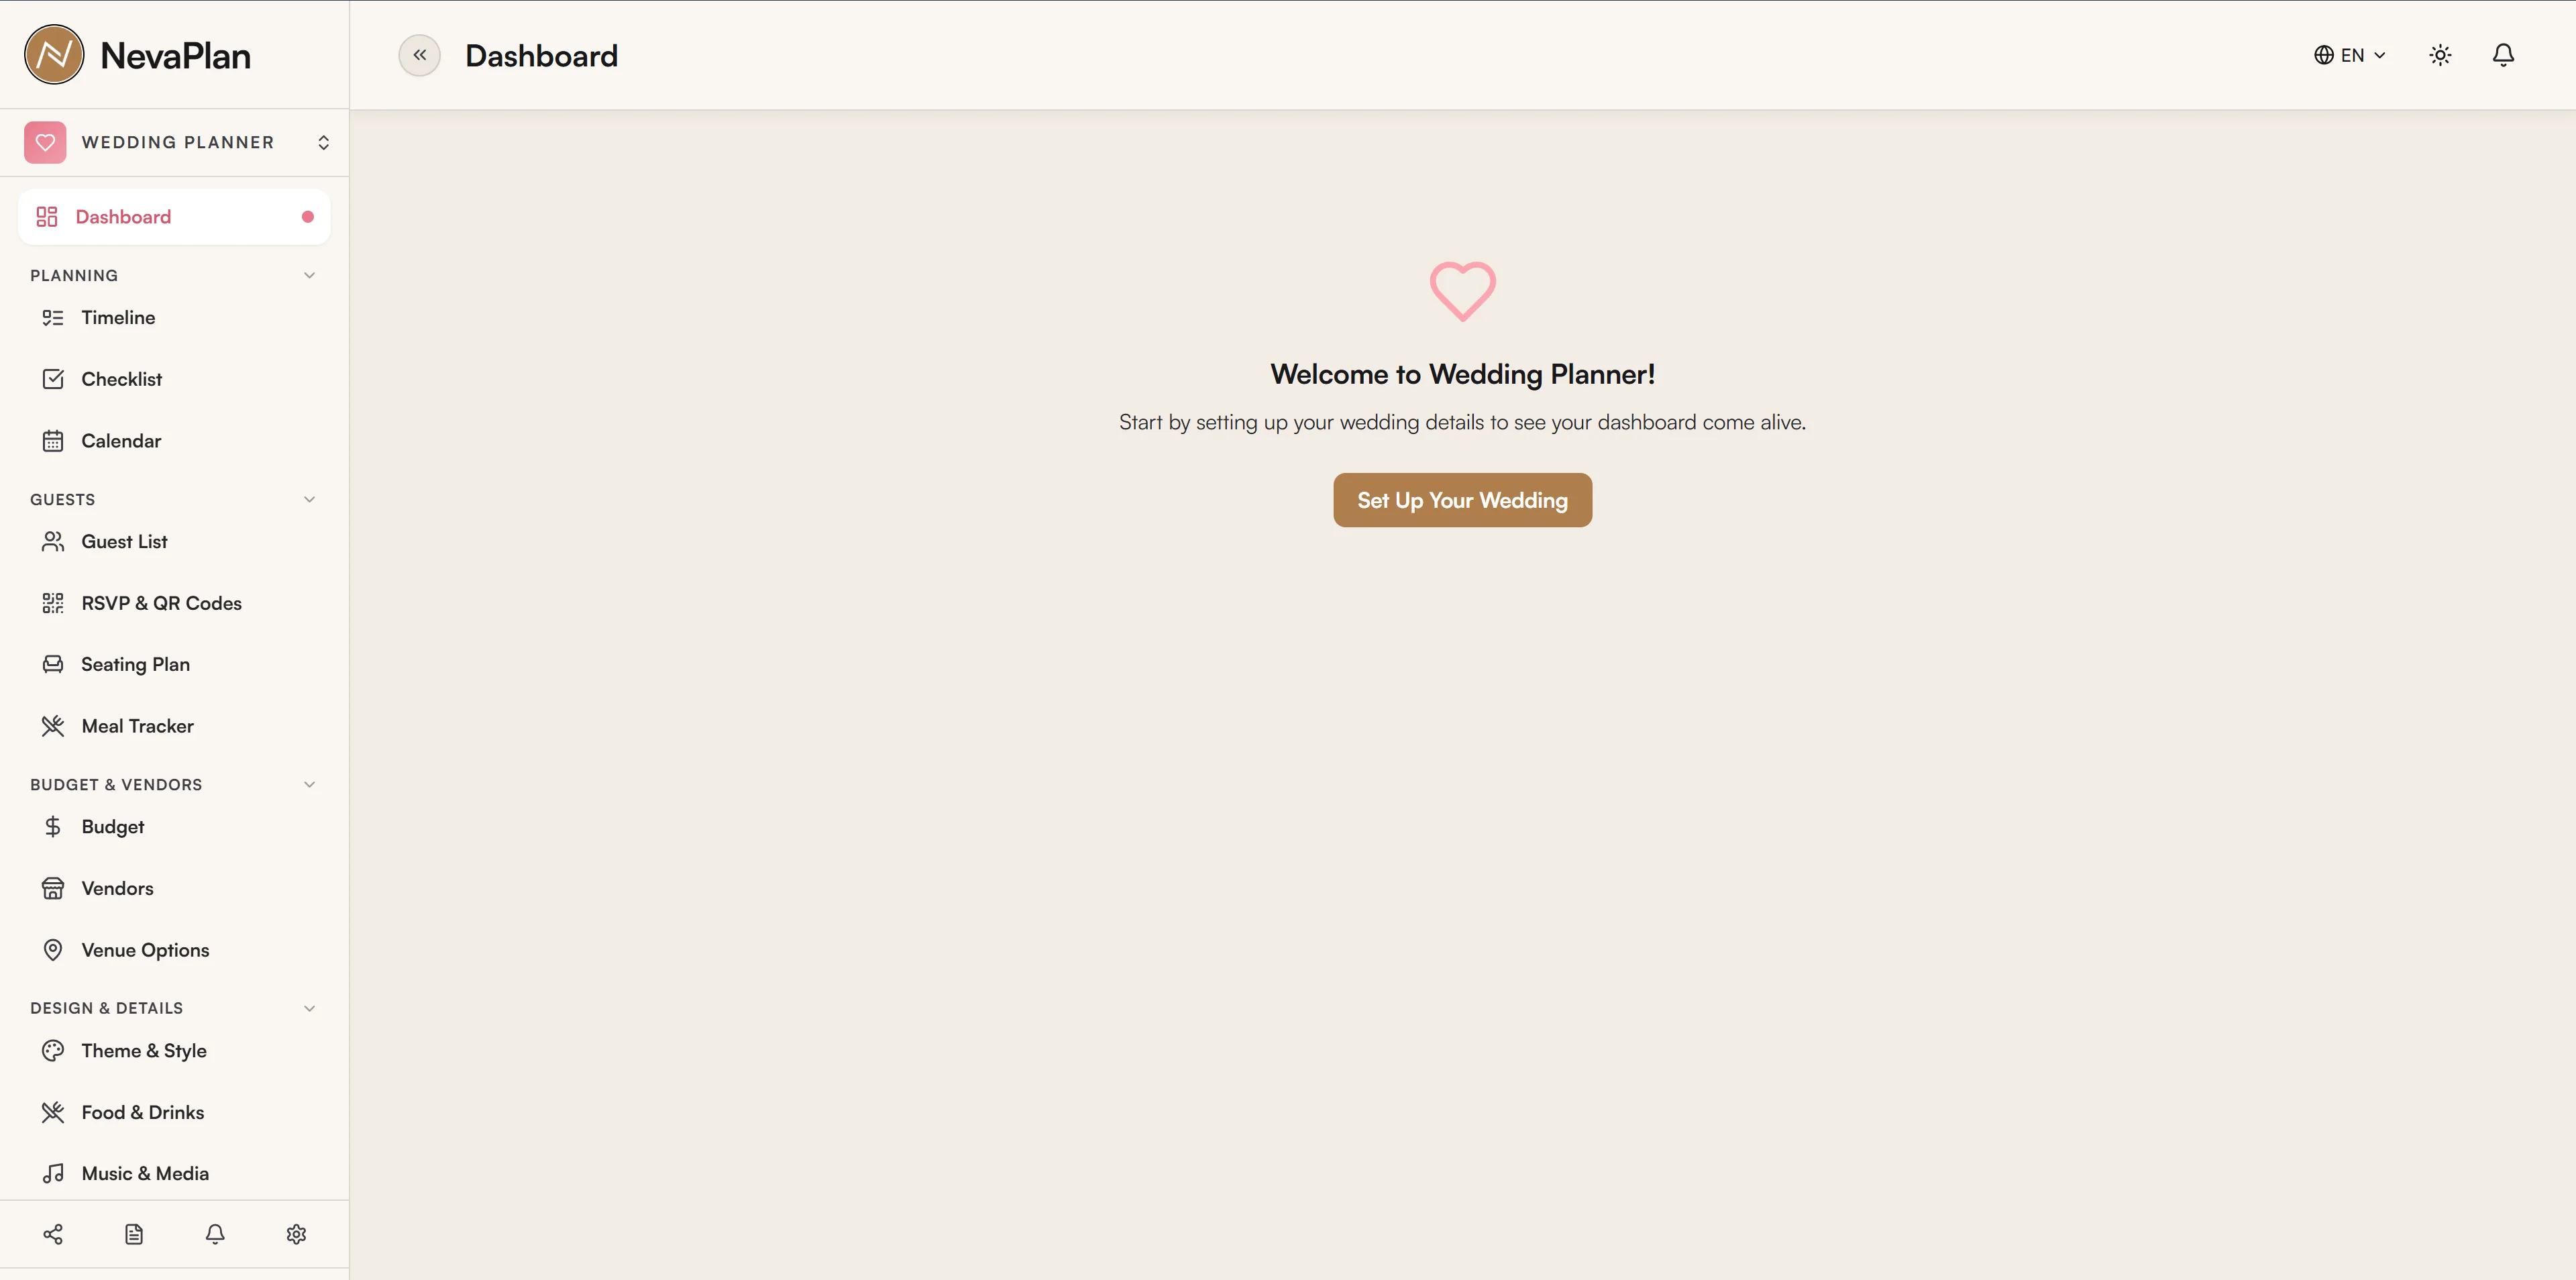
When you open Wedding Planner for the first time, the dashboard greets you but it's empty — you'll just see a welcome message:
Welcome to Wedding Planner! Start by setting up your wedding details to see your dashboard come alive.
If you see this message, head to Settings. Each account can only have one wedding, so setup is a one-time action. You can edit it anytime later, but you can't create a second wedding.
Step-by-step setup
1. Go to Settings
From the left sidebar, click Wedding Settings. On mobile, you'll find it under the Settings tab in the bottom bar. The page opens with two tabs:
- Wedding Setup — your wedding's basic details, with your dashboard photos at the bottom
- Options & Lists — customizable option lists
Start with the first one.
2. Fill in the Wedding Setup tab
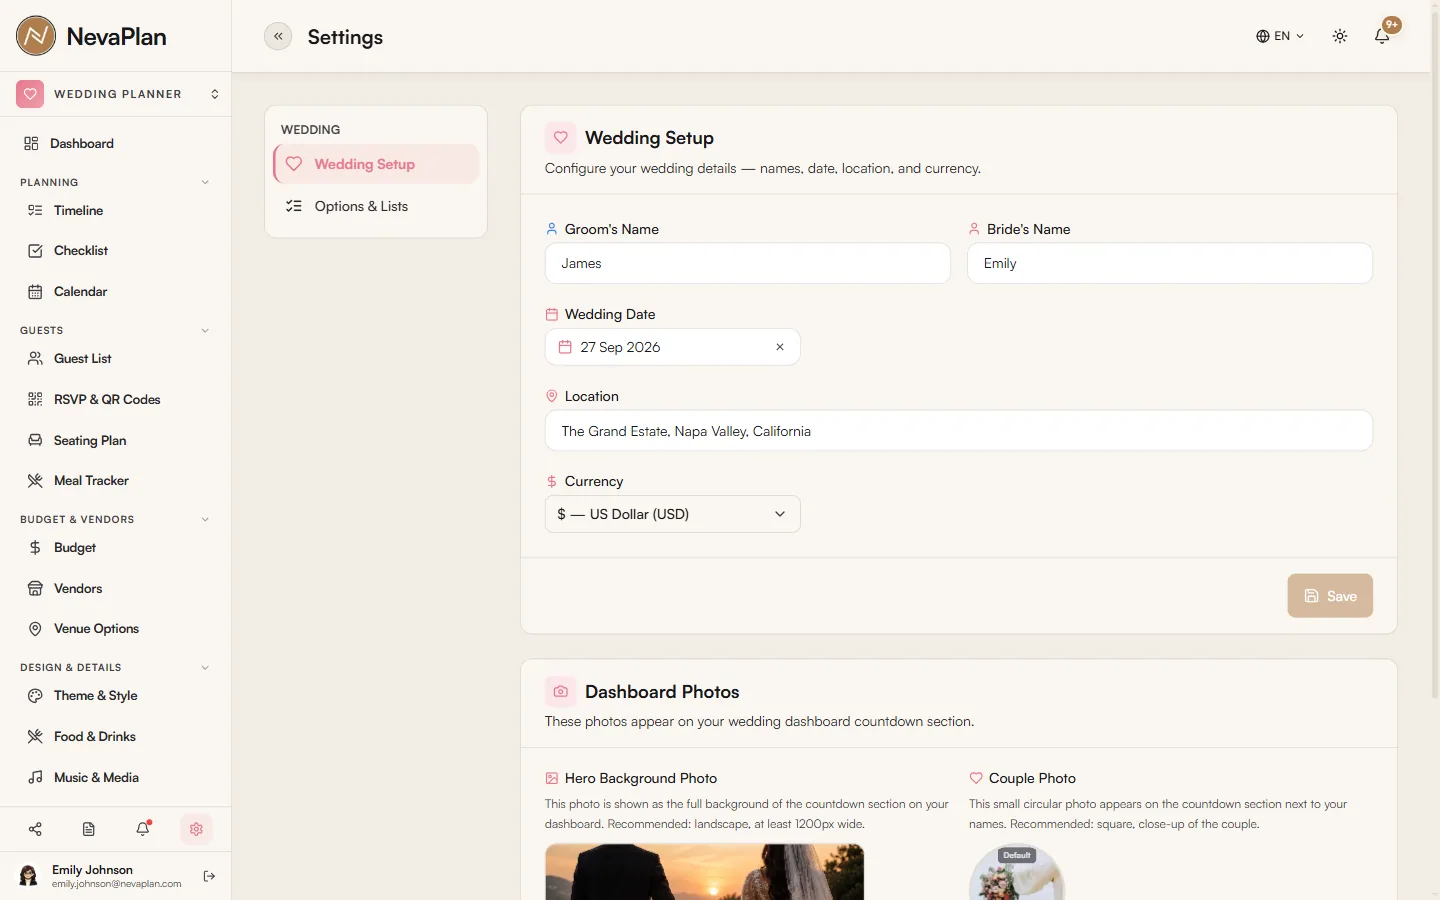
There are five fields, all essential:
| Field | Description | Example |
|---|---|---|
| Groom Name | The groom's name | Michael |
| Bride Name | The bride's name | Sarah |
| Wedding Date | Your wedding date (date picker) | September 15, 2026 |
| Location | Venue or city | Grand Ballroom, London |
| Currency | Your currency | $, £, € |
You can change the currency later, but your existing budget and payment records won't be automatically converted to the new one. Pick the currency you'll actually spend in, and don't switch it afterward.
The text you enter in the location field appears on the dashboard countdown card and in invitation emails. If your specific venue isn't decided yet, just enter the city for now and update it once it's confirmed.
3. Save
Press the Save button. On success you'll see "Wedding setup saved!". If something goes wrong you'll see "Failed to save wedding setup." — usually a dropped internet connection, so just try again.
The moment you save, head back to the dashboard. The countdown card should now be running, showing your names and the days, hours, minutes, and seconds until your wedding.
Two optional but recommended steps
Upload dashboard photos
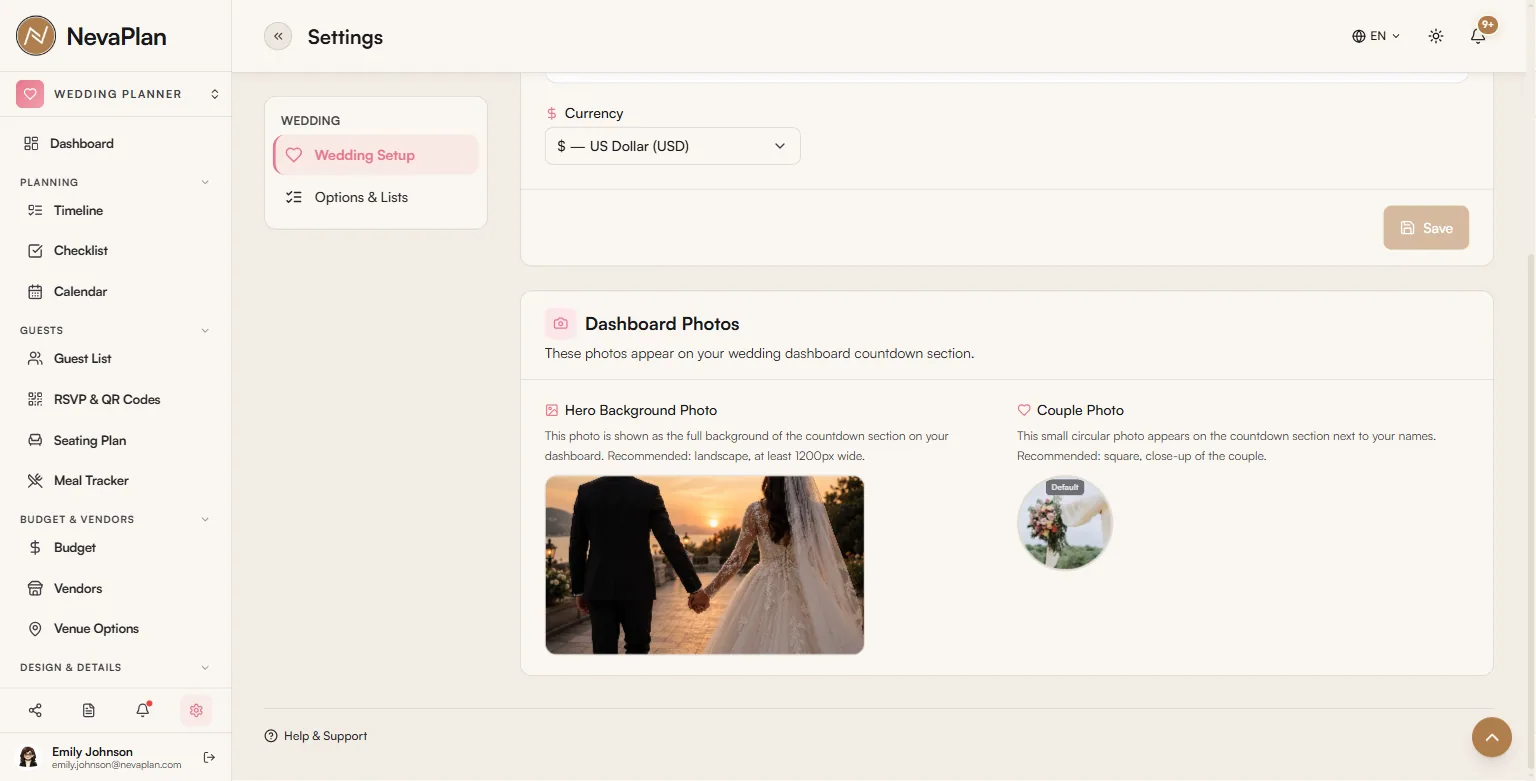
Scroll to the Dashboard Photos section at the bottom of the Wedding Setup tab. Two photos are used here:
- Hero background photo — the large image at the top of your dashboard. It should be at least 1200px wide and in landscape orientation.
- Couple photo — the round portrait on the countdown card. A square format and a close-up of the couple give the best result.
Both files can be up to 5MB. If you leave them blank, the system shows a neutral background — no problem at all.
Customize your option lists
In the Options & Lists tab, you can predefine the labels you'll use most often:
- Guest Tags — tags you'll attach to guests (e.g. "Family", "Coworker", "College")
- Accommodation Options — lodging choices (e.g. "Hotel", "Our place", "With relatives")
- Music Categories — playlist categories
- Roles — roles in your wedding party (Maid of Honor, Best Man, Flower Girl, etc.)
You don't have to do this now — these can be added on the fly when you're adding guests or building your party. But setting them up in advance saves you from jumping between screens later.
If you and your partner edit the same information at the same time, the last save wins. The system does not merge changes automatically or warn about conflicts. It's safer to have one person make important changes.
Next steps
Now that setup is done, you can start planning. The recommended order:
- Build your guest list — figure out who you're inviting and group them with tags
- Plan your budget — distribute your total budget across categories
- Plan your timeline — spread your prep tasks across the months
Once all three are in place, the dashboard fully comes alive — the stat cards fill in, the countdown gains meaning, and your tasks show up on the calendar.
FAQ
Yes, you can update it anytime from the same page. The countdown recalculates to the new date. Task deadlines you added manually do not shift automatically, so you'll need to update those by hand if needed.
No. Each account has exactly one wedding. To plan a different wedding, you'd need a separate account.
The countdown card on the dashboard disappears, but you keep full access to all your data — guest list, photo gallery, budget, thank-you card designs. The module stays active for sending thank-you cards and tracking gifts after the wedding.
If you invite them as a collaborator and grant EDIT permission for the Wedding Settings module, yes. See Sharing and collaborators for details.